UV Printing Problems by Material, and How to Fix Them
UV ink never soaks in. It sits on top of the material as a thin cross linked film, which is why one flatbed can print acrylic, glass, aluminium and oak in the same shift, and also why nearly every problem you will meet is a surface problem rather than a printer problem. Peeling, scratching, beading, patchy white and tacky prints all trace back to four variables: surface energy, cleanliness, the bridge between ink and material, and cure dose. This guide takes them material by material, gives the fix for each, and names the test that proves it. Everything here is what we run on customers' own parts at Sun Studio, our demo centre and production print bureau in Al Quoz, Dubai, open since 2011.
- The threshold
- Ink wets properly above roughly 38 dyn/cm of surface energy
- The 60 second test
- A water drop that beads instead of spreading means do not print yet
- The proof
- Cross hatch to ISO 2409 or ASTM D3359, run 24 hours after printing
- Where it is tested
- Sun Studio, our demo centre in Al Quoz, Dubai, since 2011
UV printing on different materials starts with the surface, not the printer
Nine failures out of ten are adhesion failures, and adhesion has only four inputs. Work through them in order and you will find the cause far faster than by editing the print profile.
This guide is organised by material and by symptom. If you would rather read the process end to end, from surface preparation through to the machine that suits the work, start with our UV printing adhesion and best practices guide instead.
- Surface energy. Ink wets properly when the material sits above roughly 38 dyn/cm, ideally about 10 dyn/cm above the surface tension of the ink. Clean glass, ceramic and metal are far above that. Acrylic, ABS, polycarbonate and PET are comfortably above it. Polypropylene, polyethylene and silicone sit below it and will never hold ink untreated.
- Contamination. Mould release, rolling oil, the interleaving powder on new glass, hand cream, silicone spray and oil carried in an unfiltered air line all sit between ink and substrate.
- The bridge. Pre-treatment raises surface energy physically, by flame, corona or atmospheric plasma. Primer adds a chemical link. On many materials good treatment removes the need for primer, and on the difficult ones you use both.
- Cure. Under cured ink stays soft and lifts in sheets. Over cured ink shrinks and turns brittle before it has finished bonding, then fails at the edges.
The 60 second test anyone can run
Put a drop of water on the cleaned part. If it spreads into a flat film, the surface is ready. If it beads up like rain on a waxed car, the surface energy is too low or something is sitting on it, and printing now only wastes ink. Dyne pens give you the actual number when you need one on a report.
If the print comes off with an alcohol wipe
That is an under cure, not an adhesion failure, and the two get confused constantly. A fully cross linked UV film shrugs off an isopropanol rub. If colour transfers to the cloth, check lamp output first, then carriage speed, then whether the ink is matched to the lamp wavelength.
Fisheyes and craters mean contamination
Round holes where the ink pulls back from a point are almost always silicone. Trace it to glass cleaner, a release agent, a lubricant spray used near the machine, or the compressed air line. Silicone migrates, so once it is on a bench, it is on everything that touches that bench.
Prove it, do not judge it by eye
Cross hatch to ISO 2409 or ASTM D3359, then a tape pull, then an isopropanol rub. Leave the part 24 hours before testing, because cross linking and stress relaxation continue after the print leaves the bed, and a piece that fails at ten minutes often passes the next morning. Drinkware gets a soak test. Outdoor work gets weathering.
UV printing on acrylic: peeling, dull colour and trapped dust
Acrylic prints without pre-treatment, so when it goes wrong the cause is nearly always something on the sheet or something in the cure.
Why UV ink peels off acrylic
Strip the protective masking film shortly before printing, never days ahead. The film leaves adhesive residue and softener behind, and an unmasked sheet then collects dust and skin oil while it waits its turn. Clean with isopropanol on a lint free cloth, wet cloth first and a dry one immediately after, and never send the same cloth round twice.
Household glass cleaner is the other usual culprit, because most contain silicone or ammonia. Use a printer safe cleaner, then a UV primer for anything that will live outdoors, in a bathroom, or on a surface that gets wiped every day. Cast acrylic takes ink and primer more predictably than extruded, which carries more internal stress.
Colours look dull on clear acrylic
Clear acrylic has nothing behind the ink to bounce light back, so colour reads as translucent. Add white. On a first surface print the white goes down first with colour on top. On a second surface print you mirror the artwork, lay colour first and back it with white, which puts the acrylic itself over the ink as a gloss layer and a scratch shield.
Choke the white by about 0.2 mm so no halo shows at the edges, and leave chosen areas white free where you want light to pass through. That is how light boxes and backlit retail signage get their contrast.
Dust specks trapped in UV print on acrylic
Acrylic holds a static charge and pulls airborne dust onto itself within seconds of unmasking. An ionising bar over the bed, a tack cloth pass, and starting the job straight after cleaning removes nearly all of it. A dirty vacuum bed puts grit under the sheet, which prints as raised pinpoints.
UV print cracks when the acrylic is bent
Cured UV ink is a hard film with limited stretch, and over curing makes it harder still. If the part is thermoformed, bent or routed after printing, ask for a flexible ink set and drop the cure dose to the lowest setting that still passes a tape test. Where the geometry allows, cut and form first, print last.
UV printing on glass: what actually bonds, and why the tape test fails
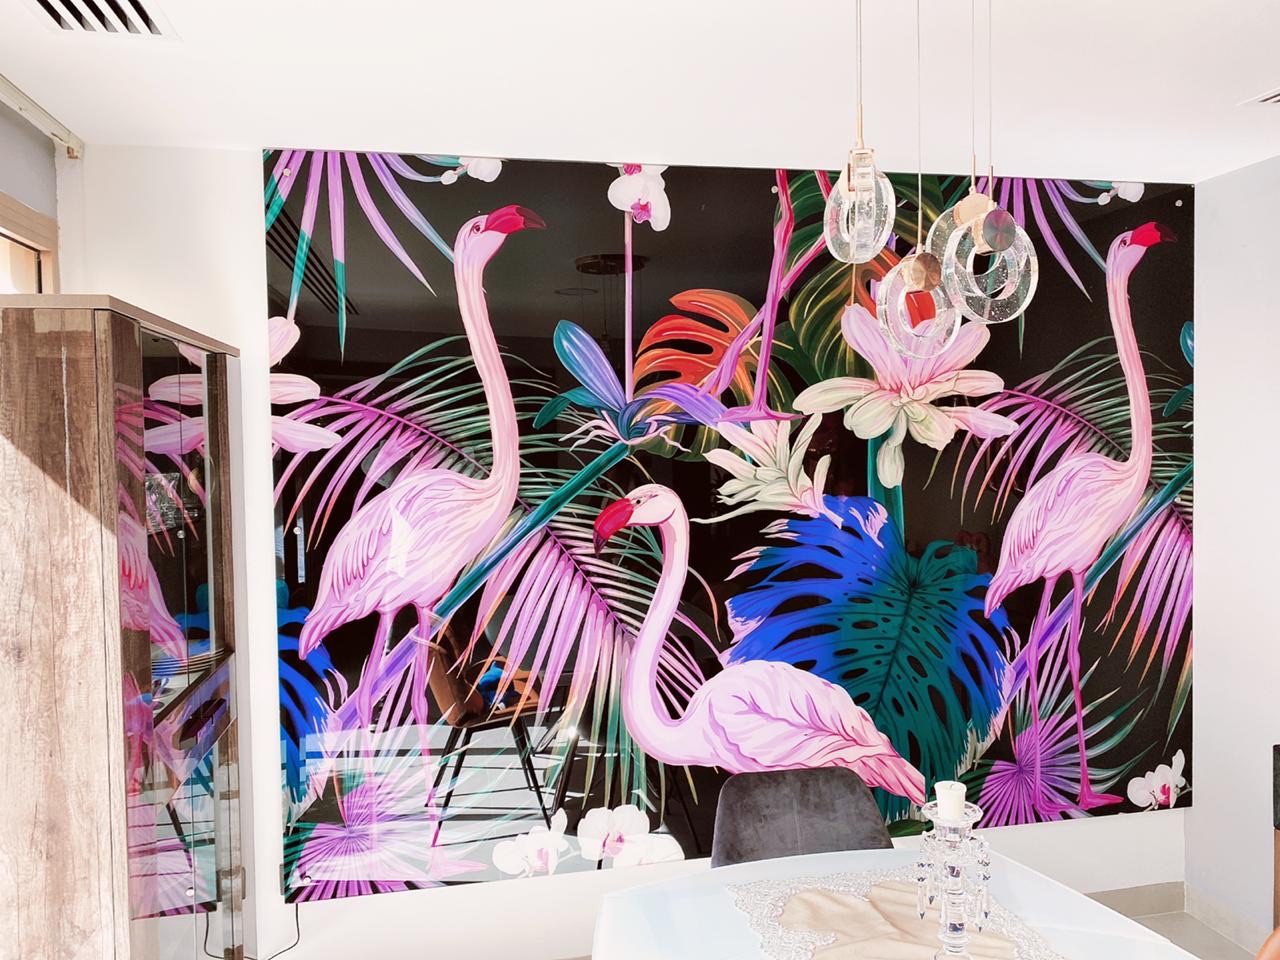
Glass has enormous surface energy when it is genuinely clean, so it should be the easiest material on the bed. In practice it arrives dirty in ways that are hard to see.
New panes carry interleaving powder from transit, plus handling oils and sometimes an anti stain coating. Wash properly rather than wipe, then degrease with isopropanol. Float glass also has a tin side and an air side, and they do not behave identically. Identify one side with a short wave UV lamp and stay consistent across a batch, otherwise half your panels test differently from the other half.
Cross hatch tape test failing on glass
Three causes, in order of likelihood. The glass was cleaned but not degreased, so a thin oil film is still there. No glass primer or silicate flame treatment was used, and raw ink on raw glass has nothing to key into. Or the test was run too early, before the film finished cross linking.
For anything that gets wet or wiped daily, splashbacks, shower screens, hotel bathroom panels, treat the primer step as mandatory rather than optional. Print after toughening, never before, since a tempering furnace runs far too hot for any organic ink to survive.
Printed office glazing is one of the fastest growing jobs we see in Dubai fit-out work: full height patterns across a window run, white only prints that read like sandblasting on meeting room doors, and raised varnish that catches the light without any mechanical etching.
UV printing on ceramic, porcelain and tile
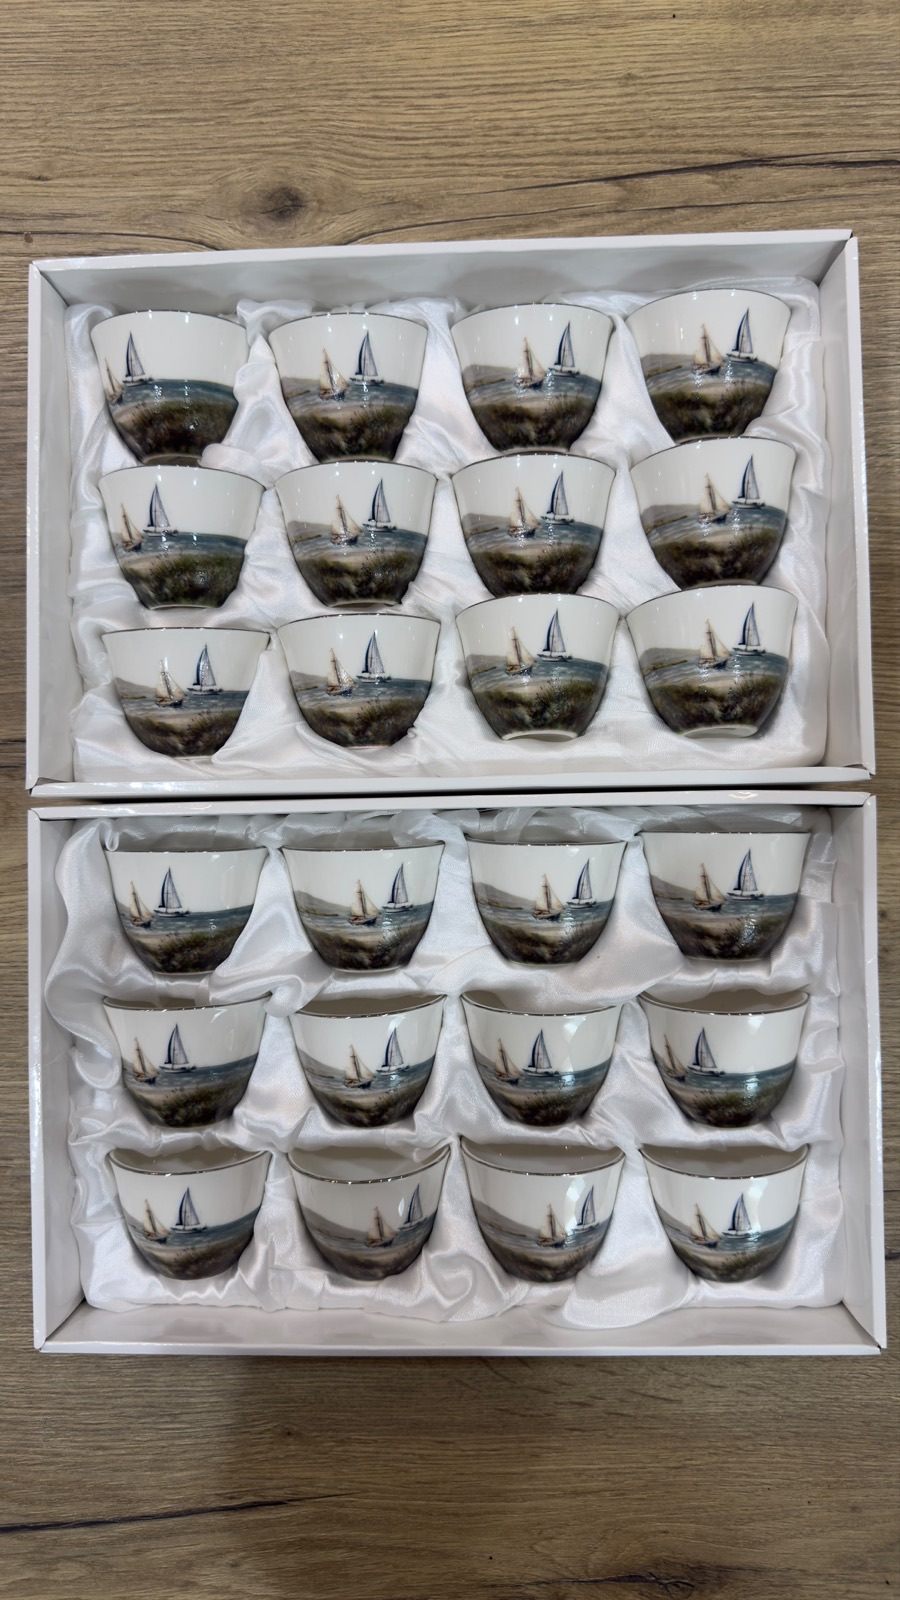
Glazed ceramic is fired glass, so it follows the glass rules exactly: degrease, prime, cure, then test after 24 hours. Unglazed biscuit is the opposite problem, porous and thirsty, so ink sinks in and colour goes flat. Seal it first or accept the muted look as the finish.
UV ink flaking off ceramic
Almost always a missing primer, and almost always discovered after the item has been washed. Dishwasher detergent is strongly alkaline and the cycle runs at 65 to 70 degrees, which is a harsher test than most people expect. A well primed and properly cured UV print on porcelain survives hand washing comfortably, and dishwasher performance has to be proven with real cycles on your own item rather than assumed. Where a client needs true dishwasher permanence at volume, kiln fired ceramic decoration is a different process and the honest answer.
Large format porcelain tile is the other side of this market. Printing timber, stone and terrazzo decor onto tile gives interiors the look without the maintenance, which suits Gulf hospitality projects where real timber underfoot is a problem.
UV printing on metal: raw, anodised, powder coated and stainless
Metal is the backbone of industrial marking work in this region, from oil and gas nameplates to bilingual wayfinding. It is also where cleaning discipline pays for itself.
Why a UV print scratches off metal
A rolled metal sheet arrives with drawing lubricant or rolling oil on it, invisible and quite enough to stop a bond. Degrease with isopropanol or a dedicated cleaner, and for bare aluminium give it a light abrade with a fine pad first, so the ink has a mechanical key as well as a chemical one. Then prime. A print that fails a coin scratch on stainless has usually had neither step.
UV print rubbing off anodised aluminium
The anodic layer is porous, which is exactly why ink anchors into it so well. Sealed anodising closes those pores, so the same artwork that held perfectly on one batch lifts on the next. Ask your supplier whether the parts are sealed, and if the answer is yes or unknown, plan on primer and test each delivery. We cover the whole subject, from sealed versus unsealed surfaces to batch testing, in our guide to UV printing on anodised aluminium.
UV print not sticking to powder coated aluminium
Two separate problems stacked on top of each other. Many powder coats contain silicone based flow and slip additives, which show up as fisheyes and poor wetting. A fully cured polyester powder is also chemically inert with low surface energy, so there is nothing for the ink to grip.
The fix is a light scuff, a proper clean, then plasma treatment or an adhesion promoter, and printing while the coating is still relatively fresh. Powder formulations change without notice, so treat every new batch as a new material and cross hatch it before you commit the run.
Stainless steel deserves its own note. It is smooth, passive and holds fingerprints beautifully, so it needs a thorough degrease and a primer for any outdoor or plant installation. For nameplates that face solvents, diesel or wash down, add a chemical resistance test to the sign off, not just a tape pull.
UV printing on plastics: polypropylene, ABS, polycarbonate and PET
Plastics split cleanly into two groups. One group prints as it comes. The other will never print without treatment, no matter how good the printer is.
How to make UV ink stick to polypropylene
Polypropylene and polyethylene sit around 29 to 31 dyn/cm, well below what UV ink needs, which is why the ink beads up on plastic and lifts off in one piece. Nothing in the print profile changes that. You have to raise the surface energy first, with flame, corona or atmospheric plasma treatment, then print inside the working window.
That window matters. Treatment is not permanent, the surface relaxes back over hours to a few days depending on the polymer, and a tray treated on Sunday and printed on Wednesday behaves like an untreated tray. Treat, print, cure, in one flow. Silicone and rubber parts need flame treatment and a primer together, because their surface activity is lower still.
The plastics that behave
- ABS. Prints with no primer on most grades, which makes it the default for electronics housings and branded gadgets. Watch for mould release on freshly moulded parts.
- Polycarbonate. Excellent mechanical durability for control panels and safety signage. Clean with isopropanol only, since aggressive solvents craze it, and check whether the sheet carries a hard coat that resists ink.
- PET and PETG. Generally good adhesion, though some grades carry a release coating from the film line.
- Rigid PVC, foam PVC and aluminium composite. The workhorses of retail POS and exhibition build. Easy to print, just remove protective film residue first.
Recycled and regrind plastics are the wild card. Composition varies between deliveries, so test per batch rather than per material.
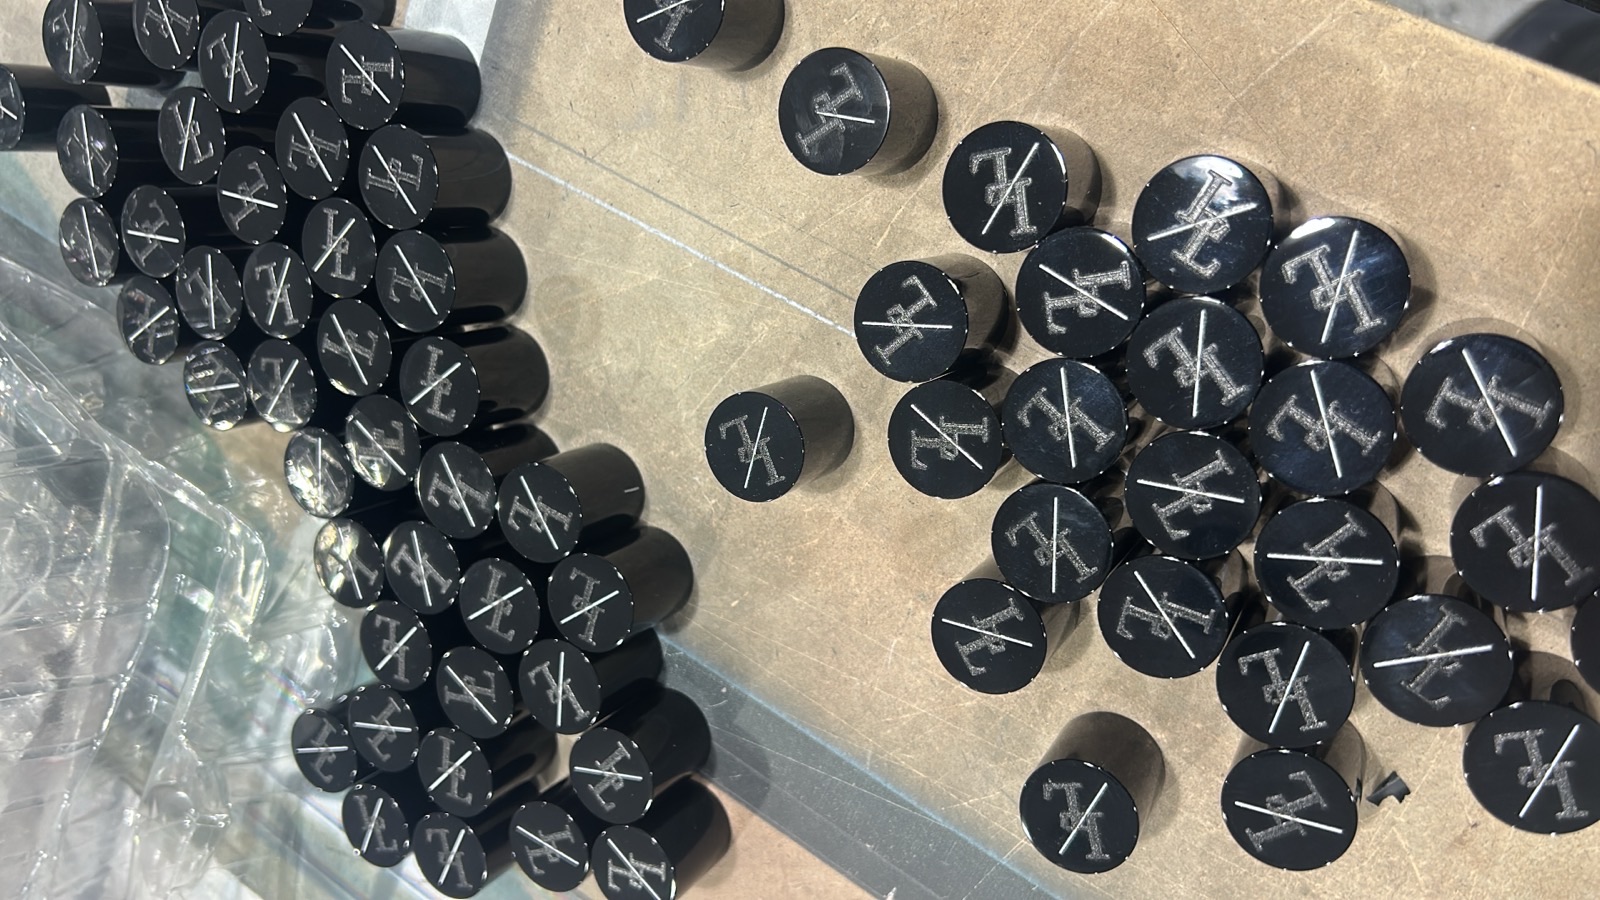
UV printing on wood and MDF
Wood is the one substrate where you choose how much of the material you want to see, and that decision drives everything else.
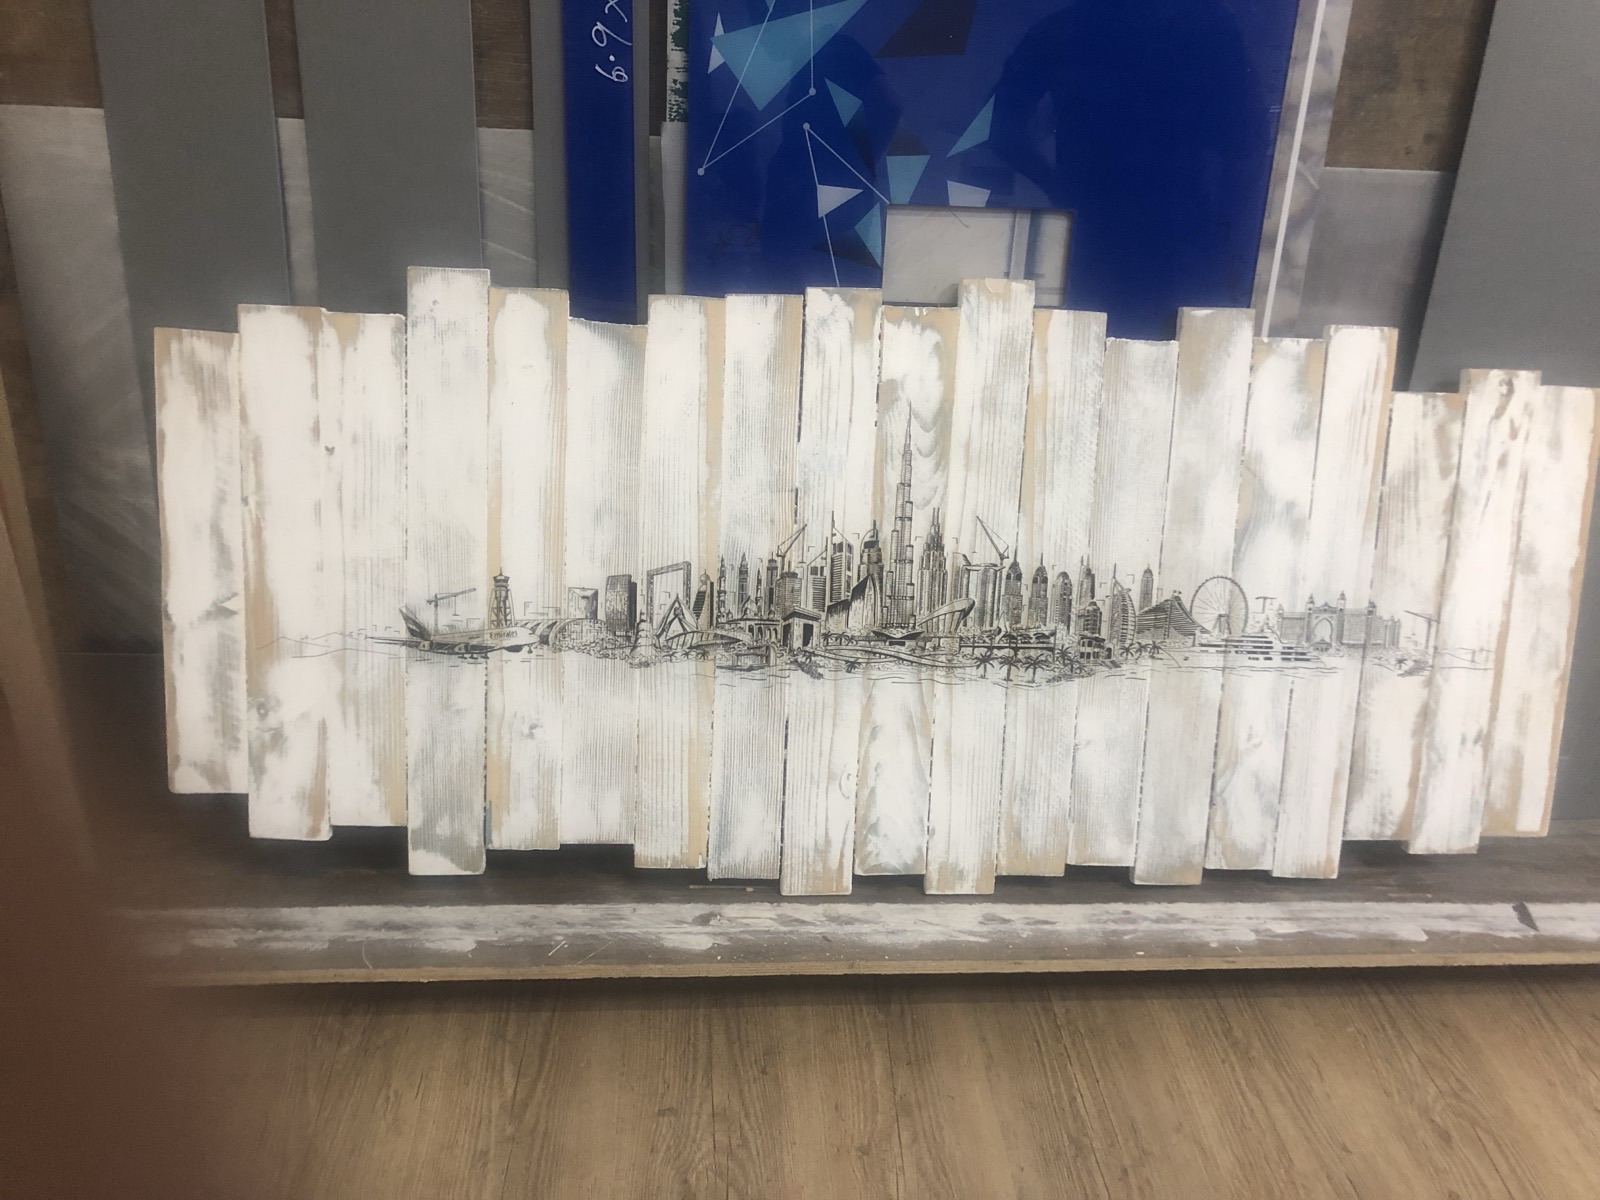
Partial coverage lets the grain read through the ink, which is the whole point of direct to wood printing and the reason it beats a laminated panel. Full coverage with a white underprint turns the timber into a carrier and lets the artwork dominate. Decide before you build the file, because the white channel changes the whole colour setup.
Raw wood and lacquered MDF are two different materials in practice. Raw timber is porous, absorbs ink unevenly and needs sanding plus complete dust removal, otherwise the finish looks blotchy. Lacquered MDF is a sealed non porous surface that behaves closer to plastic, and some lacquers are silicone rich enough to reject ink outright. A base lacquer or sealer evens out an open grain when you need photographic detail.
Two practical points for this climate. Wood moves with moisture, so let panels acclimatise in the workshop before printing rather than bringing them straight in from a hot yard. And oily species and resinous knots can bleed through a print over time, so seal them if the piece is going to a client wall.
White ink, varnish and texture, and why the underprint goes wrong
White ink is the hardest channel on any UV printer, and it is behind a large share of quality complaints that get blamed on the machine.
Why is my white underprint patchy
White pigment is titanium dioxide, which is dense and settles out of suspension faster than any other colour. If the white is not circulated or agitated properly it separates in the line, and you get thin patches, dropouts and a grainy look. Run a nozzle check before every white job rather than at the start of the week, keep the recirculation working, and increase the number of passes rather than pushing one pass harder.
White ink looks grey on dark material
Because one layer of white is translucent. Over black acrylic, dark anodising or a navy gift box, a single pass reads grey no matter what the file says. Lay two or three white passes with a pin cure between them so each layer is stable before the next lands, and raise the white ink limit in the profile. On a rough or dark substrate, a fourth pass is not extravagant.
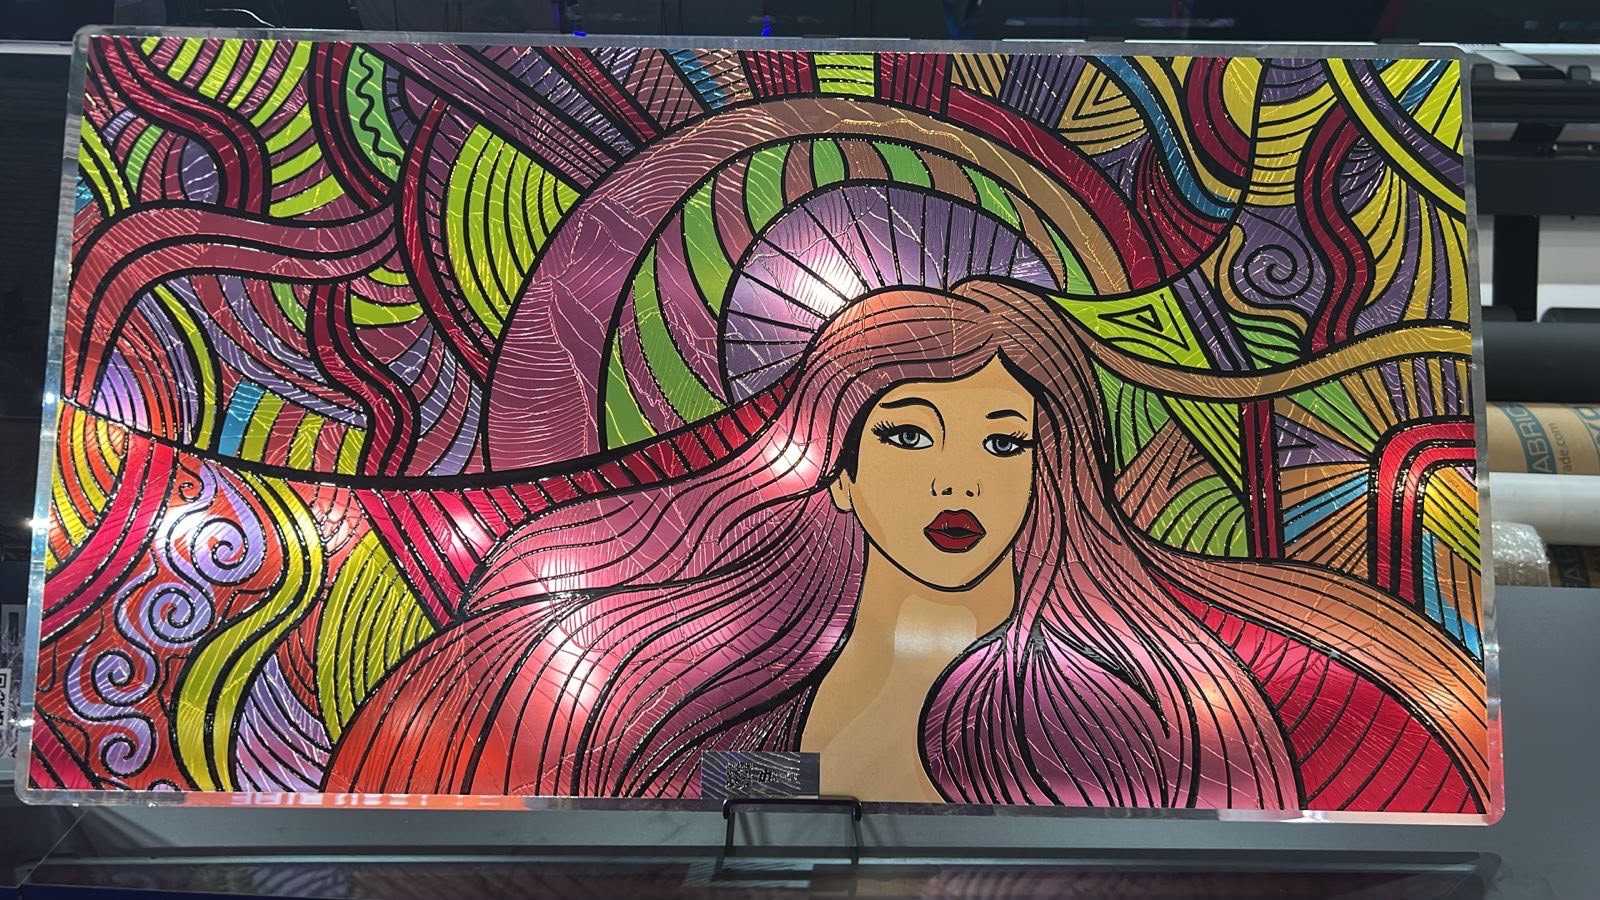
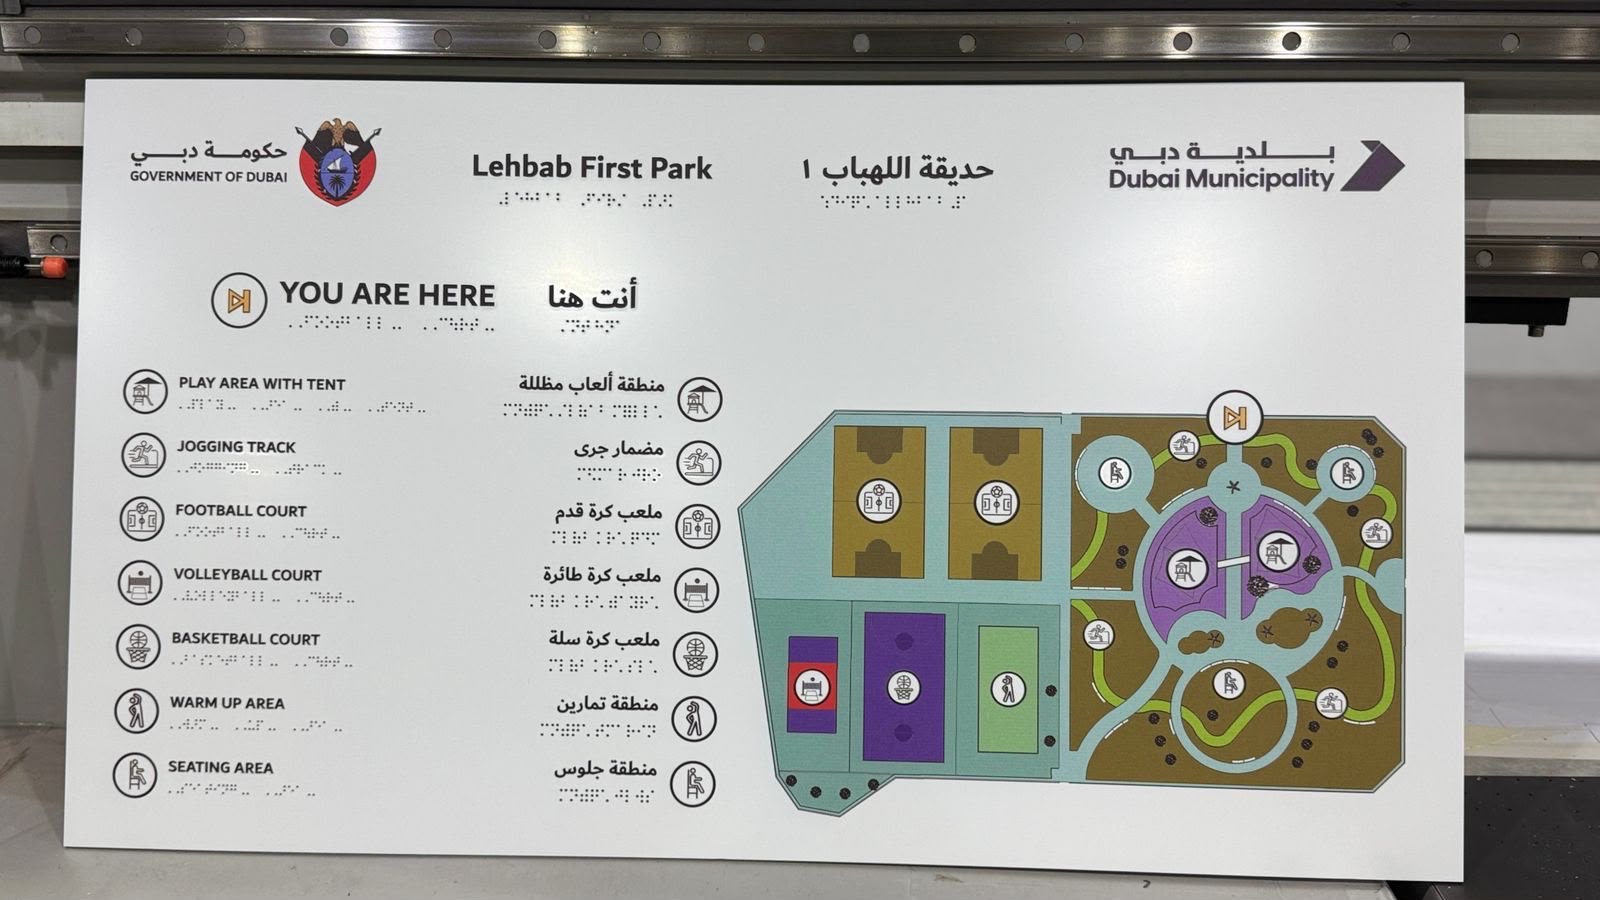
Varnish and texture use the same principle. Stacked cured layers build real relief, which is how raised tactile lettering and ADA style braille get printed in the same job as the artwork, and how a varnish pass adds depth on decorative glass. It is one of the strongest arguments for direct printing on accessibility signage, since the tactile element and the graphics come off the bed together with nothing applied afterwards.
Curing, and what Gulf heat, sun and salt do to a print
Cure is the last variable and the one people adjust last, usually after everything else has been ruled out.
UV print still tacky after curing
Under cure, and there are only a handful of causes. LED output drops slowly over thousands of hours, so a lamp that was fine last year may not be now. Ink mist fogs the lamp lens and quietly cuts the dose. Carriage speed may be too high for the layer thickness, or the ink may not match the lamp wavelength. Cold ink is another one, since viscosity rises and the layer goes down heavier than the profile expects. Measure the dose with a radiometer instead of guessing.
Over curing has the opposite signature: a hard, slightly brittle film that looks perfect and fails a cross hatch, because it shrank and cross linked before it had finished wetting the surface. If adhesion is poor and the print looks flawless, try less cure, not more.
Heat, sun and salt
Dubai and Riyadh sit under one of the heaviest solar UV loads on earth. Unprotected inks fade outdoors, magenta first, and roughly two years of good outdoor life becomes five or more with a clear UV protective coat on top. Specify light fast pigments and avoid low lightfastness spot colours for exterior signage.
Dark panels in direct sun reach surface temperatures far above air temperature, and that daily thermal cycling stresses the ink to substrate bond, particularly on acrylic and composite panels that expand a lot. Near the coast, in Jumeirah, Dammam or Jeddah, salt and condensation get under a weak bond and lift it, and untreated aluminium corrodes beneath the print. Prime it, or specify anodised or powder coated stock and test that stock.
One workshop habit worth adopting here: let material acclimatise indoors before printing. Cold glass brought into a humid summer workshop grows a condensation film you cannot see, and no amount of primer fixes printing onto water.
Leather, promotional items and packaging
Direct printing onto the finished product removes the label, the sticker and the shrink sleeve, which is the entire commercial argument for it. It also removes the minimum order quantity, so ten personalised pieces cost the same per unit as a thousand.
Leather is the one to test before you quote. Natural hide varies from tannery to tannery, and the surface waxes and finishes that make it feel good are exactly what a UV ink has to bond through. Print a sample, cure it, then bend and flex it hard, because a belt or a wallet spends its life folding. Synthetic leather is more consistent but check the top coat.
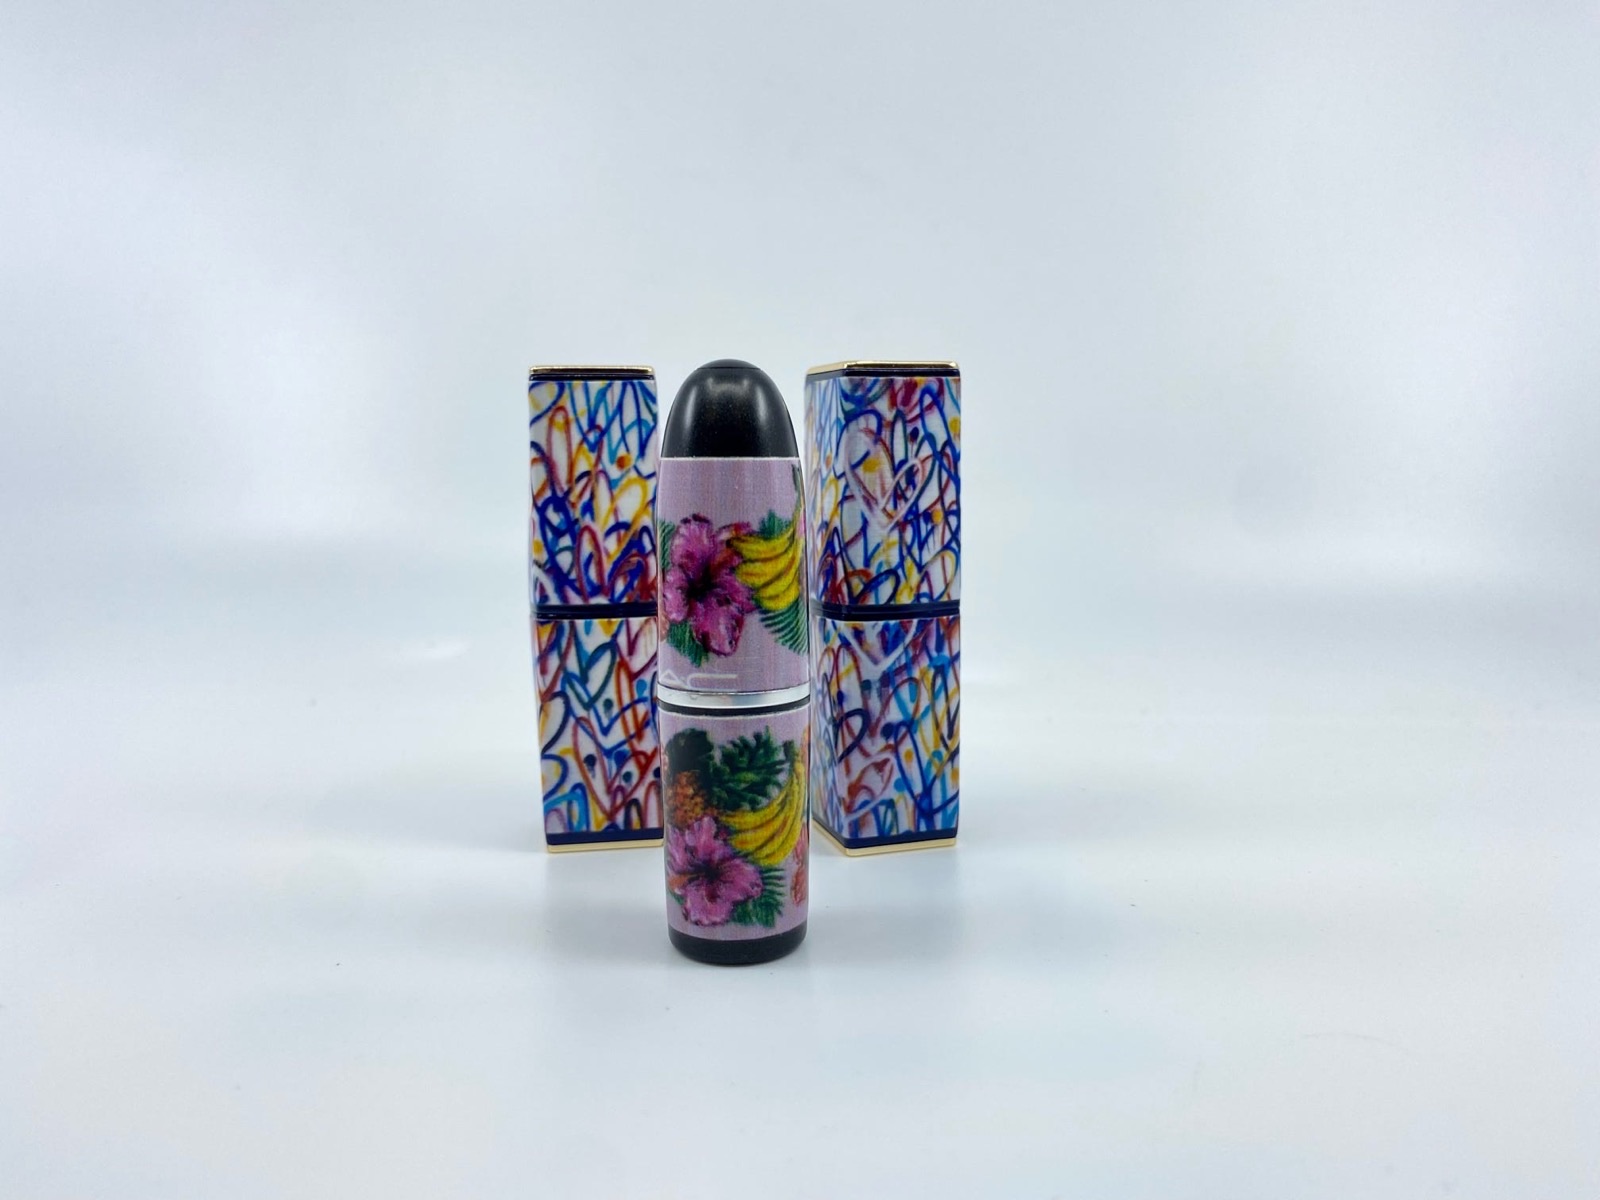
For corporate gifting around Ramadan and National Day, the material list widens fast: notebook covers, keyrings, power banks, phone cases, ceramic and glass drinkware, aluminium cans and bottles, and the printed packaging that carries them. Each name, each Arabic and English lockup and each serial number changes at no extra cost, because there is no screen or pad to remake between pieces.
Cylindrical items follow the same rules as flat ones. Bottles, cans, tumblers and jars are printed 360 degrees on a cylindrical UV printer, and glass or aluminium still needs its degrease and its primer before it holds.
Send your own material and watch it print at Sun Studio
None of the above is worth much as theory. The only answer that matters is what your material does, from your supplier, in this climate.
Send us a panel, a bottle, an offcut or a sample part, and we will clean it, treat it, print it and test it at Sun Studio, our own demo centre and production print bureau in Al Quoz, Dubai, running since 2011. What comes back is a printed sample you can hold, the parameter set that produced it, a cross hatch and tape test result, and an honest note on anything that failed. If a substrate does not hold, we would rather tell you before the machine conversation than after.
Customers across the UAE, Saudi Arabia and the wider GCC use it the same way: prove the material first, then decide on equipment. If you already know you are buying, our guide to choosing a UV printing machine in the UAE covers flatbed, cylindrical, wall and conveyor printers, and our digital printing division page covers the machines, inks, primers and pre-treatment we supply and support locally.
To see it running on your own part, book a demonstration in Dubai or post the sample in.
نتكلم عربي. نستقبل عينات من العملاء في الإمارات والسعودية وباقي دول الخليج، ونختبر طباعة UV على الخامات المختلفة: الاكريليك، الزجاج، المعادن، الخشب والبلاستيك، مع معالجة السطح قبل طباعة UV واختيار البرايمر المناسب، ونرجع لك عينة مطبوعة مع نتيجة اختبار التصاق الحبر.
Frequently asked questions
Why is UV ink peeling off my acrylic?
Almost always residue rather than the acrylic itself. The protective masking film leaves adhesive and softener behind, and household glass cleaners add silicone on top of that. Strip the film shortly before printing, clean with isopropanol using a wet cloth followed immediately by a dry one, and add a UV primer for anything outdoors or wiped daily. If it still lifts, drop the cure dose slightly, because an over cured film shrinks before it finishes bonding. بالعربية: إذا كان الحبر ما يثبت على الاكريليك أو يتقشر، السبب عادة بقايا الفيلم الواقي أو منظف يحتوي سيليكون، والحل تنظيف بالإيزوبروبانول ثم برايمر طباعة UV مع ضبط المعالجة.
How do I make UV ink stick to polypropylene?
You cannot do it from the print profile. Polypropylene sits around 29 to 31 dyn/cm, well below the roughly 38 dyn/cm that UV ink needs, so the ink beads up and peels off in one piece. Raise the surface energy first with flame, corona or atmospheric plasma treatment, then print inside the working window, which is hours to a few days depending on the polymer. Treated on Sunday and printed on Wednesday behaves like untreated.
Why is my UV print not sticking to powder coated aluminium?
Two problems at once. Many powder coats contain silicone based flow and slip additives, which cause fisheyes and poor wetting, and a fully cured polyester powder is chemically inert with low surface energy so there is nothing to grip. Scuff lightly, clean properly, then use plasma treatment or an adhesion promoter, and print while the coating is relatively fresh. Powder formulations change without notice, so cross hatch every new batch before committing the run.
Why is my white underprint patchy, and why does white look grey on dark material?
White pigment is titanium dioxide, which is dense and settles out of suspension faster than any other colour, so poor circulation gives thin patches and dropouts. Keep the white recirculating and run a nozzle check before every white job. Grey white is a different issue: a single layer of white is translucent. Lay two or three passes with a pin cure between them and raise the white ink limit rather than pushing one pass harder.
My UV print comes off with an alcohol wipe. What went wrong?
That is under curing, not adhesion. A fully cross linked UV film shrugs off an isopropanol rub, so if colour transfers to the cloth the ink never finished curing. Check LED lamp output, which drops over thousands of hours, then check whether ink mist has fogged the lamp lens, then carriage speed against layer thickness, then whether the ink matches the lamp wavelength. Measure the dose with a radiometer rather than judging by feel.
Why is the cross hatch tape test failing on glass?
Usually one of three things. The glass was wiped but not degreased, so an invisible oil film sits under the ink. No glass primer or silicate flame treatment was used, and raw ink on raw glass has nothing to key into. Or the test was run too soon. Leave the part 24 hours before testing to ISO 2409 or ASTM D3359, since cross linking and stress relaxation continue after the print leaves the bed.
Why is my UV print still tacky after curing?
The cure dose is too low for the ink laid down. Common causes are lamp output decline, a lens fogged with ink mist, carriage speed too high for a heavy layer, ink running cold so viscosity rises and the layer goes down thicker than the profile expects, or an ink not matched to the lamp wavelength. Heavy saturated areas cure last, so test tackiness in the densest part of the artwork rather than the lightest.
What causes fisheyes, craters and dust specks in a UV print?
Craters and fisheyes are contamination, nearly always silicone from glass cleaner, release agent, lubricant spray or an unfiltered compressed air line. Silicone migrates, so once it is on a bench it reaches everything on that bench. Dust specks are a separate issue and mostly affect acrylic, which holds a static charge and pulls airborne dust onto itself within seconds of unmasking. Use an ionising bar, a tack cloth, and start the job straight after cleaning.
طباعة UV على الخامات المختلفة: خلاصة الدليل بالعربية
طباعة UV هي طباعة رقمية مباشرة بحبر يتصلّب فوراً بالأشعة فوق البنفسجية. الحبر لا يتشرّب داخل الخامة، بل يبقى فوقها كطبقة رقيقة متماسكة، ولهذا تطبع ماكينة واحدة على الاكريليك والزجاج والمعدن والخشب في وردية واحدة، ولذلك أغلب المشاكل مشكلة سطح لا مشكلة ماكينة.
الخامات الأكثر طلباً:
- طباعة UV على الاكريليك، أو طباعة يو في على الاكريليك: يقبل الحبر بلا معالجة، والخطأ غالباً بقايا الفيلم الواقي أو منظّف فيه سيليكون. إذا الحبر ما يثبت على الاكريليك أو حصل تقشر الحبر بعد الطباعة، نظّف بالإيزوبروبانول ثم استخدم برايمر طباعة UV.
- طباعة UV على الزجاج: يصل محمّلاً ببودرة الفصل وزيوت المناولة، فيحتاج إزالة دهون وبرايمر مخصص، والطباعة بعد التقسية لا قبلها.
- طباعة UV على المعادن: ألمنيوم خام ومؤكسد ومطلي بالبودرة، وستانلس. إذا الطباعة تنمسح من على المعدن فالسبب زيت الدرفلة أو غياب البرايمر، لا الحبر نفسه.
- طباعة UV على البلاستيك: ABS والبولي كربونيت وPET تقبل الحبر مباشرة. أما كيف أثبت حبر UV على البولي بروبلين، فطاقة سطحه بين 29 و31 داين/سم مقابل نحو 38 يحتاجها الحبر، والحل معالجة باللهب أو الكورونا أو البلازما ثم طباعة فورية.
- طباعة UV على الخشب وألواح MDF: التغطية الجزئية تُبقي عروق الخشب ظاهرة، والخشب الخام يحتاج سنفرة وإزالة غبار.
- طباعة UV على الجلد والهدايا الدعائية والزجاجات: اطبع عينة واثنِها قبل التسعير، فالجلد يختلف من دباغة لأخرى.
أربعة عوامل تحكم النتيجة في طباعة UV على الخامات المختلفة: طاقة السطح للطباعة، والنظافة، والجسر بين الحبر والخامة عبر معالجة السطح قبل طباعة UV أو برايمر طباعة UV، ثم جرعة التجفيف. والحبر الأبيض في طباعة UV يترسّب سريعاً، فيحتاج تدويراً وطبقتين أو ثلاثاً حتى لا يظهر رمادياً على الخامة الغامقة. والحكم يكون باختبار التصاق الحبر: تشريط متقاطع حسب ISO 2409 وشريط لاصق بعد 24 ساعة لا بعد عشر دقائق.
وميزتها على السلك سكرين وطباعة الباد أنها بلا شاشات ولا كليشيهات ولا حد أدنى للكمية: عشر قطع تكلفتها للقطعة مثل ألف، وكل قطعة تحمل اسماً أو رقماً مختلفاً بلا زيادة، مع ألوان كاملة وأبيض وورنيش بارز في تمريرة واحدة.
نحن برو تكنولوجي (PRO TECHnology) في دبي منذ 1998، موزّع معتمد وخدمة لماكينات وأحبار الطباعة الرقمية في الشرق الأوسط، ونشغّل صن ستوديو (Sun Studio)، مركز العرض والمطبعة الإنتاجية في القوز بدبي منذ 2011. أرسل عينة من مادتك، لوحاً أو زجاجة، وننظّفها ونعالجها ونطبعها ونختبرها، ويصلك نموذج مطبوع مع إعدادات الطباعة ونتيجة اختبار الالتصاق وملاحظة صريحة عمّا لم ينجح. نخدم عملاء في الإمارات والسعودية ودول الخليج، وإذا كان بحثك عن طباعة UV السعودية أو طباعة UV الرياض فأقصر طريق هو إرسال العينة قبل قرار الشراء. نتكلم عربي.
Prove it on your own material first
Post in a panel, a bottle, an offcut or a finished part. We clean it, treat it, print it, test it, and send it back with the parameters and the adhesion result. Dubai based, serving the UAE, Saudi Arabia and the wider GCC.
Written by PRO TECHnology, Dubai, authorised distributor and service provider in the Middle East for industrial digital printing equipment, inks, primers and pre-treatment, in the printing business since 2011. Materials, coatings and batches vary, so always test your own part before committing a production run.